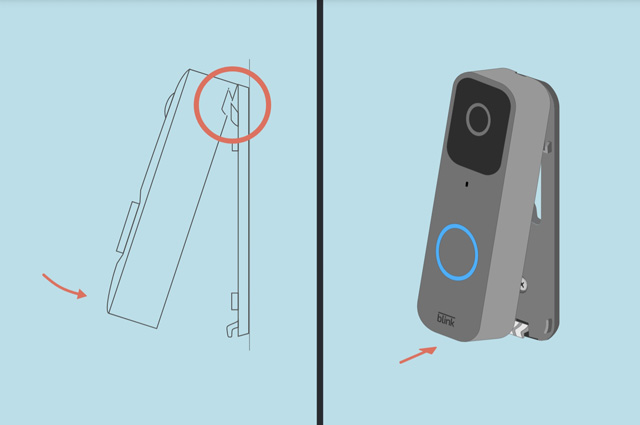
This articles describes how to install a wedge or corner mount for your Blink Video Doorbell.
Viewing angles
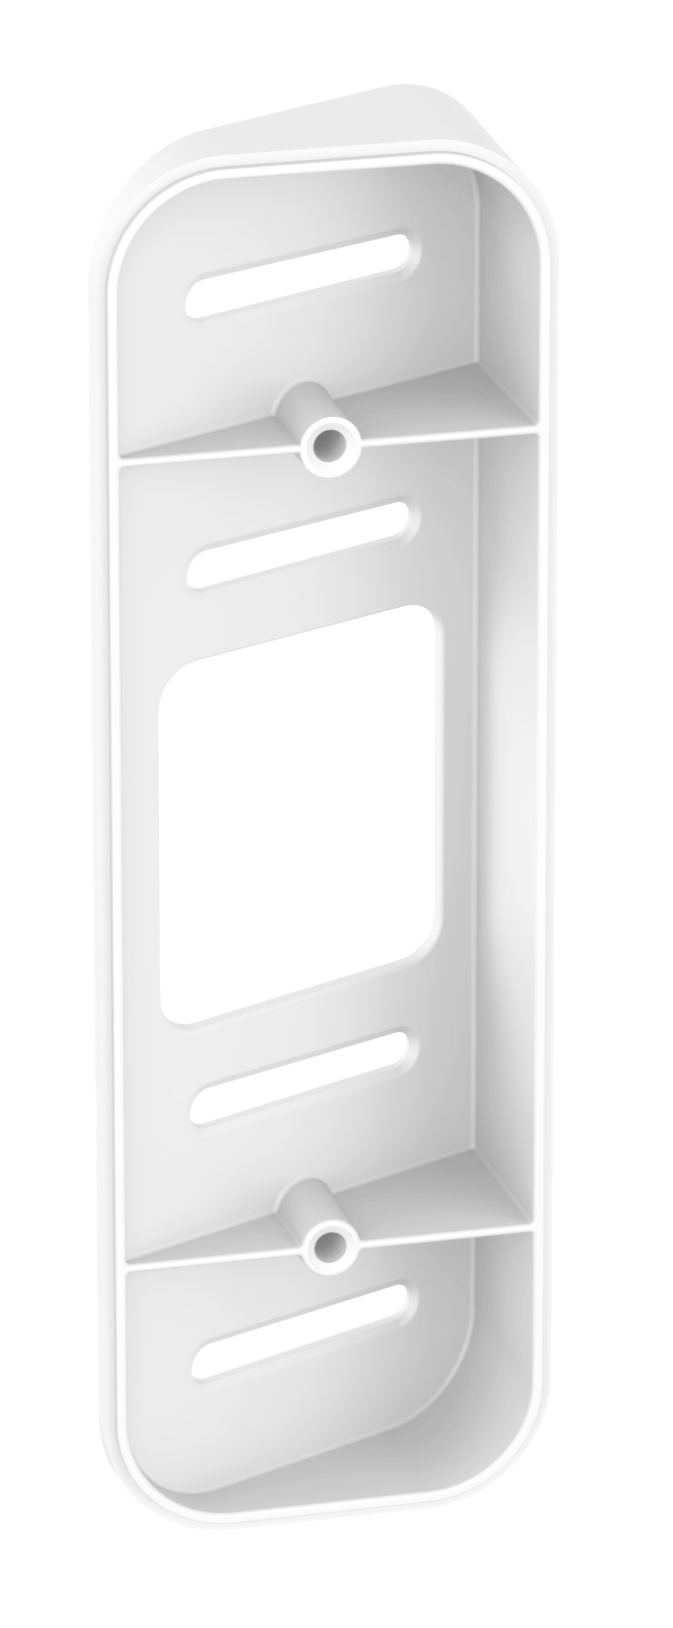
The camera in the doorbell has a field of view pointing straight out from the mounting surface. If the image does not capture the desired view, a Wedge Mount offers a 5° vertical tilt and a Corner Mount offers 25° horizontal tilt.
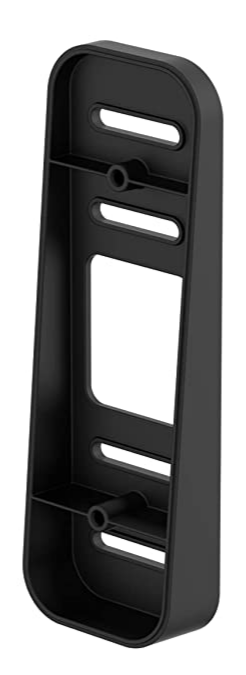 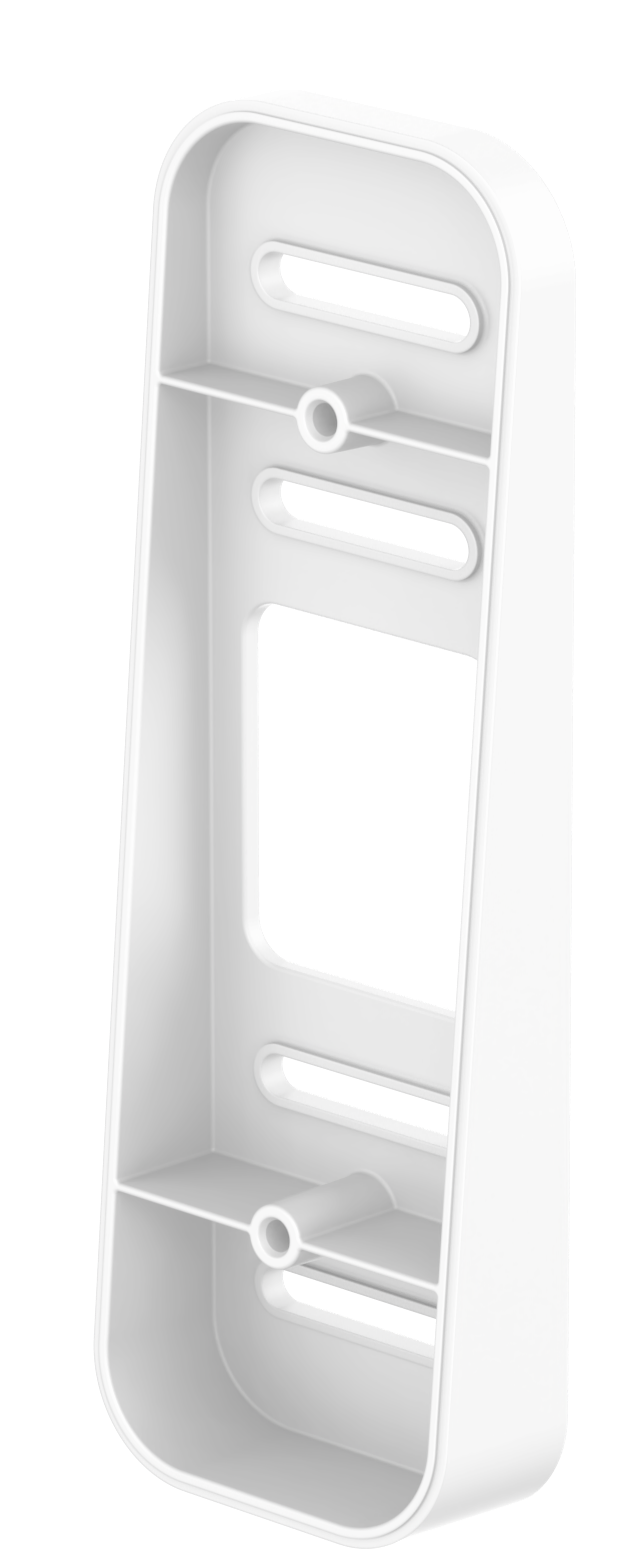
|
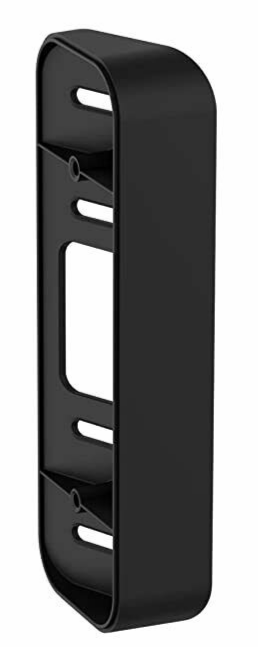 
|
| Wedge (5º up and down) | Corner Mount (25º left or right) |
Note: These accessories are not bundled with the doorbell and are sold separately through Amazon.
How to Install the Wedge or Corner Mount
1. Choose your mounting spot.
While looking through Live View in the Blink app, adjust your video doorbell's position along your wall and location to get the view you want. Make a mark with a pencil where you want it to be located.
We recommend choosing a spot approximately 46-48 inches (102 -122cm) above the ground.
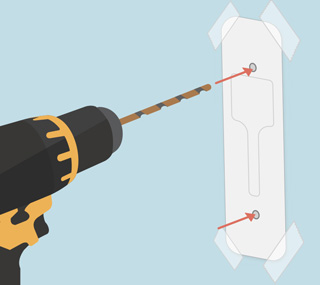
2. Drill mounting holes.
The included paper template works for both the mounts and the doorbell. Using the pencil marks where you want to place your doorbell, tape the paper template in place. If you want to use the wiring from a doorbell you already have, place the template so that the wires will reach through the central open area of the wedge.
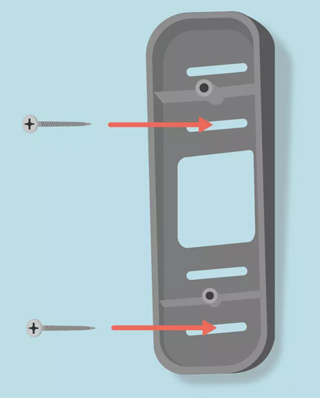
3. Screw the wedge/corner mount accessory into your wall.
The Wedge and Corner Mount accessories ship with a pair of shortened all-purpose screws. These screws are used to secure the doorbell's back plate to the accessory. Use the pointed, regular-length screws to secure the accessory to your wall or surface.
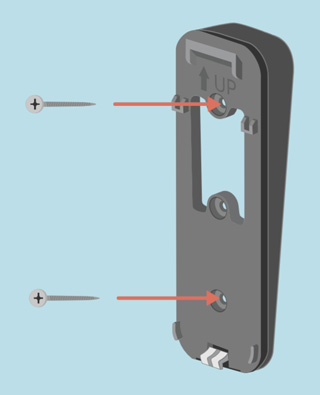
4. Screw the back plate into the mount using the top and bottom holes.
4a (optional). If you're using your existing doorbell's wires, screw these wires into the back of the doorbell after screwing the back plate into the mount.
5. Attach the doorbell and test.
