The following easy steps explain how to install and configure your Blink Solar Panel Mount. You must first have a fully functional Blink Outdoor (3rd Gen) camera set up in your Blink account, before attaching the camera to the mount. In addition, the lithium batteries must remain in your outdoor camera before connecting it to the solar panel mount. Other Blink outdoor cameras (Outdoor 4, XT or XT2) are not supported.
Click here for instructions on how to add your Outdoor (3rd Gen) camera to your account.
1. Detach the mounting bracket from the back of the Solar Panel by pulling down on the bracket. After the bracket is removed, you will be able to easily remove the plastic wrap from the Solar Panel Mount.
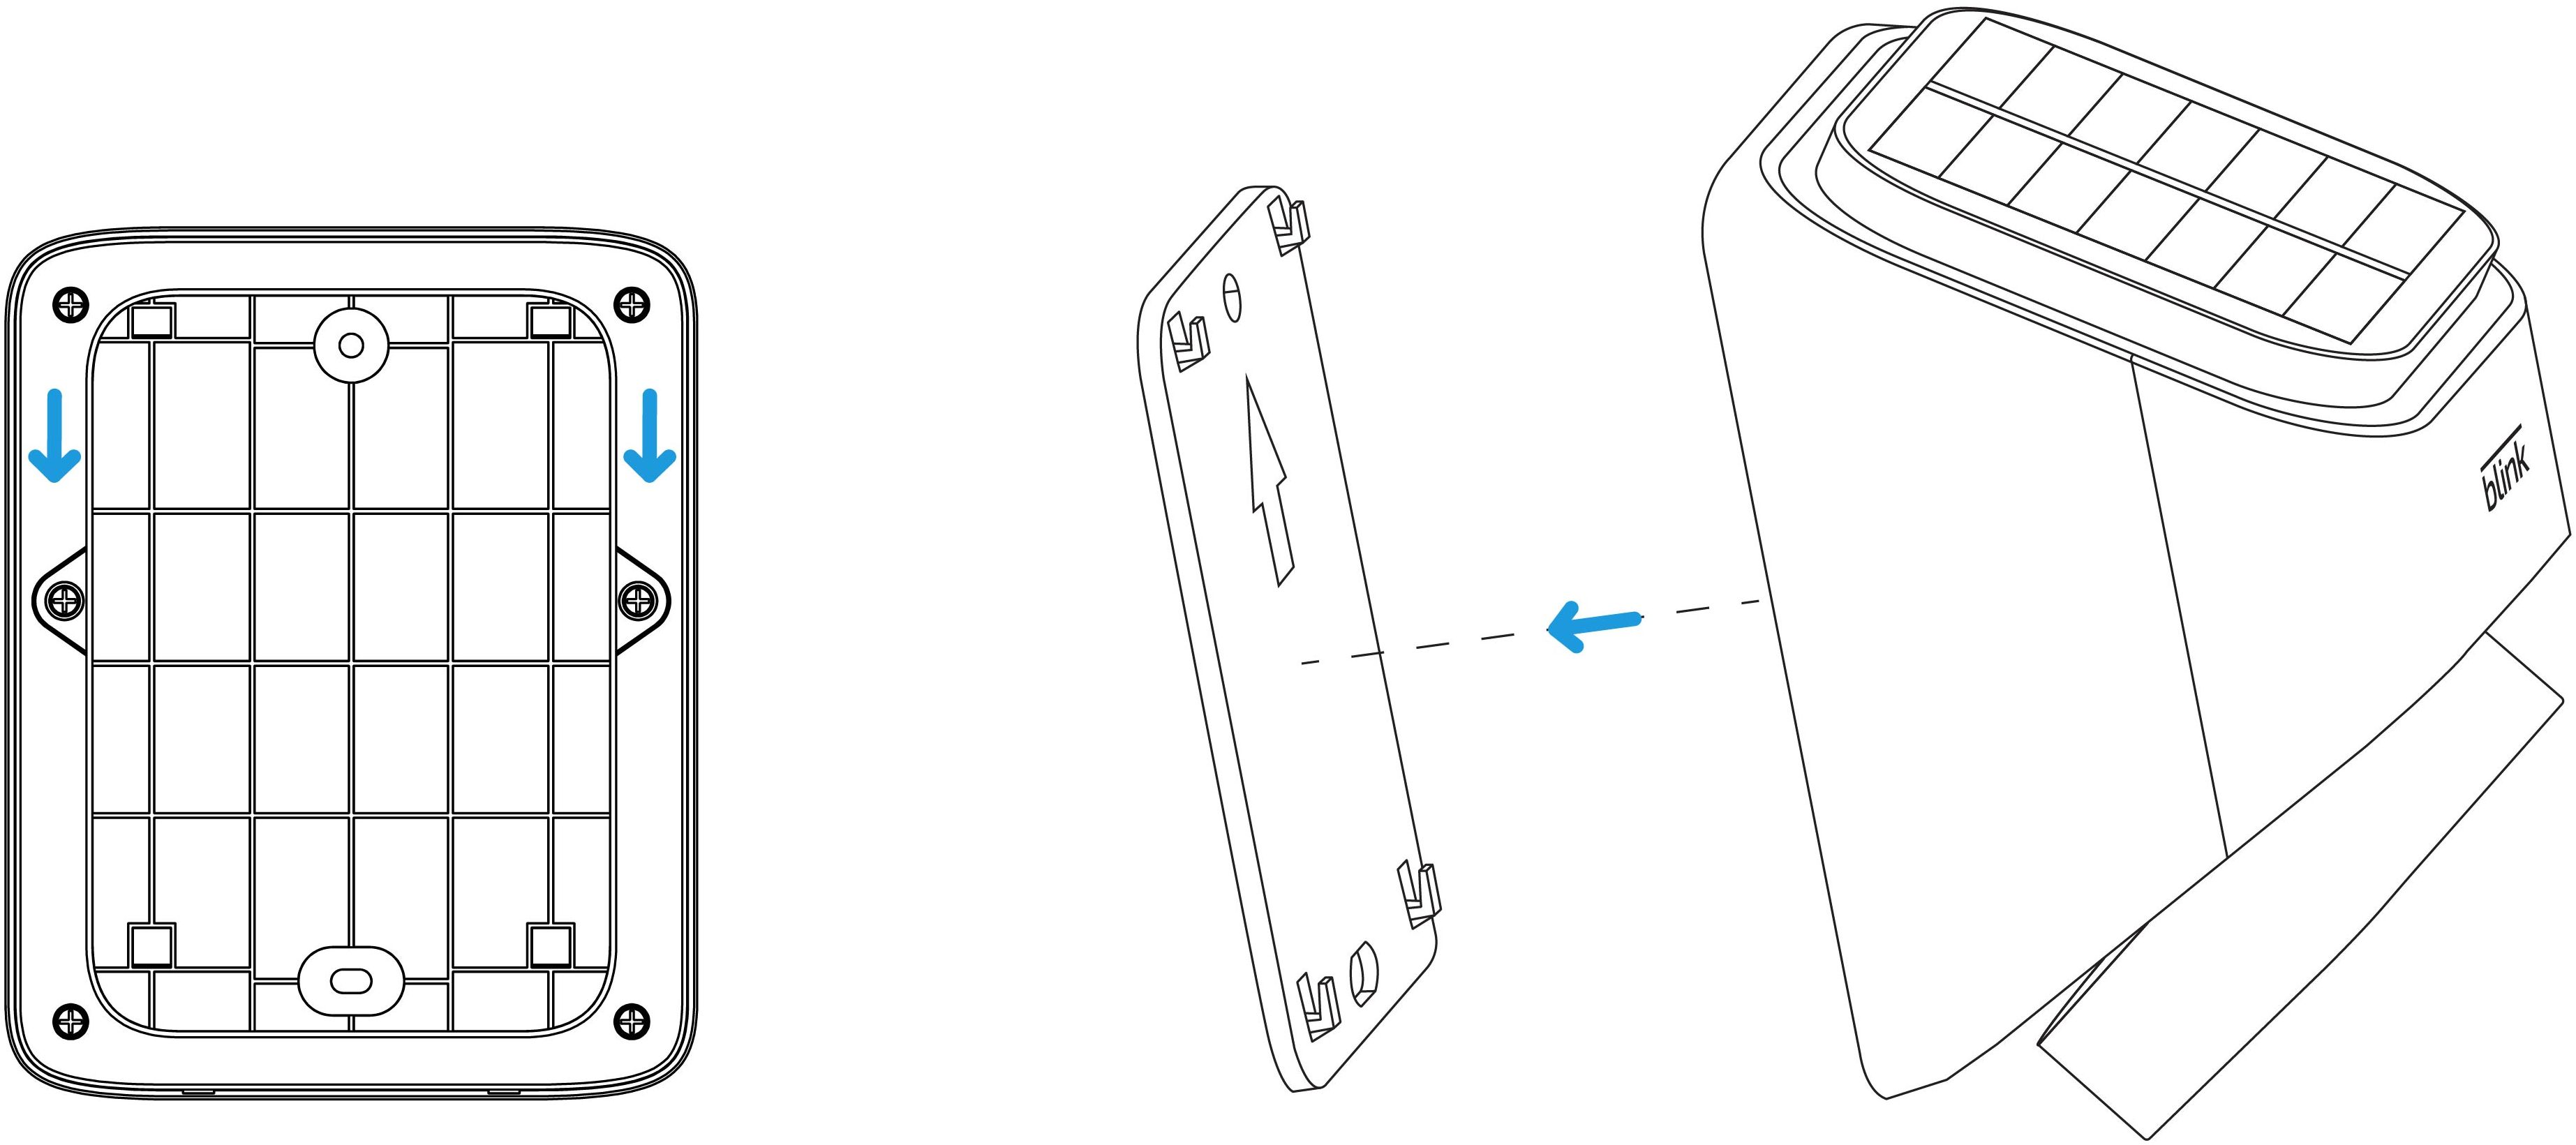
2. Remove the pull-tab from the battery compartment (located on the back of the unit) by removing the screws on the left and right sides. This tab protects the battery during shipping and must be removed in order to power your device.
Once the plastic tab is removed, screw the cover back in place before installation.
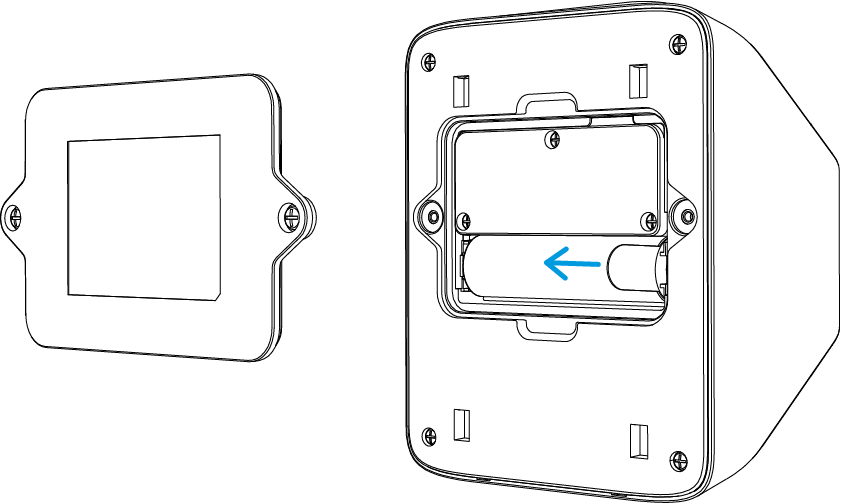
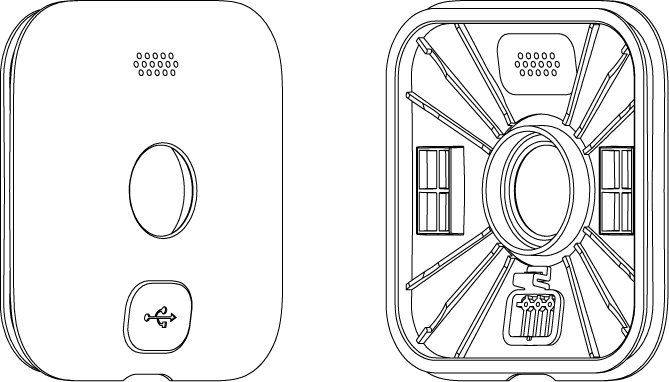
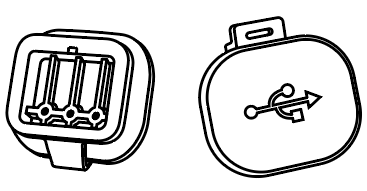
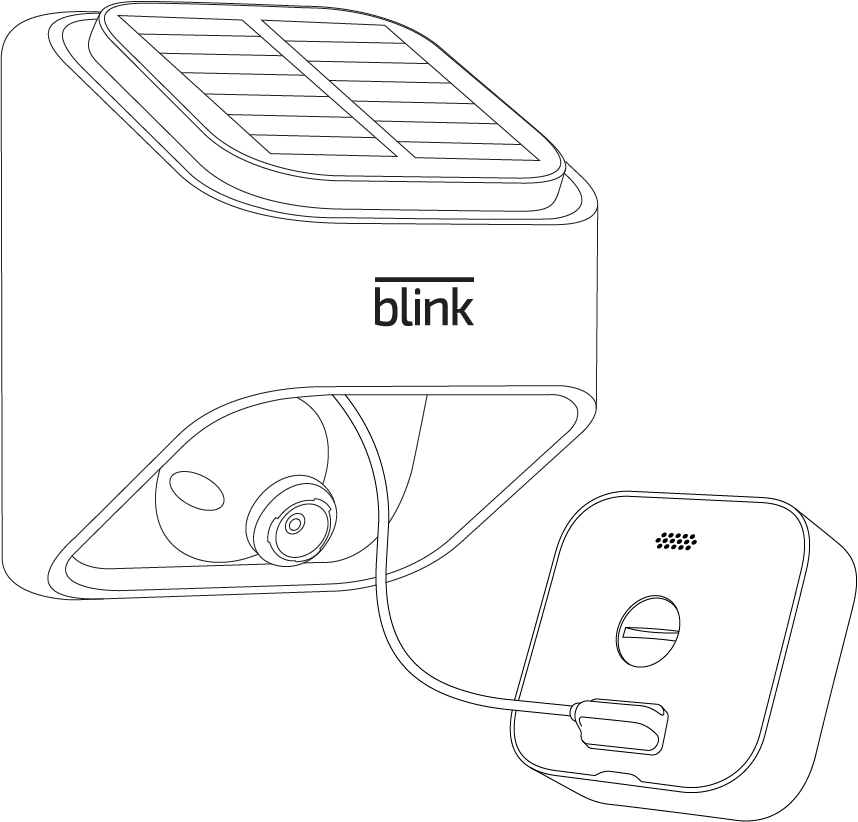
3. Completely remove the back and USB port covers from your Blink Outdoor (3rd Gen) camera. Removing the USB cover will ensure you have an optimal weather resistant seal between the micro-USB cable and your camera.
Once the USB cover is fully removed, reattached the back cover on your Blink Outdoor (3rd Gen) camera. Click here to learn more about how to remove and attach the back cover on your Blink Outdoor (3rd Gen) camera.
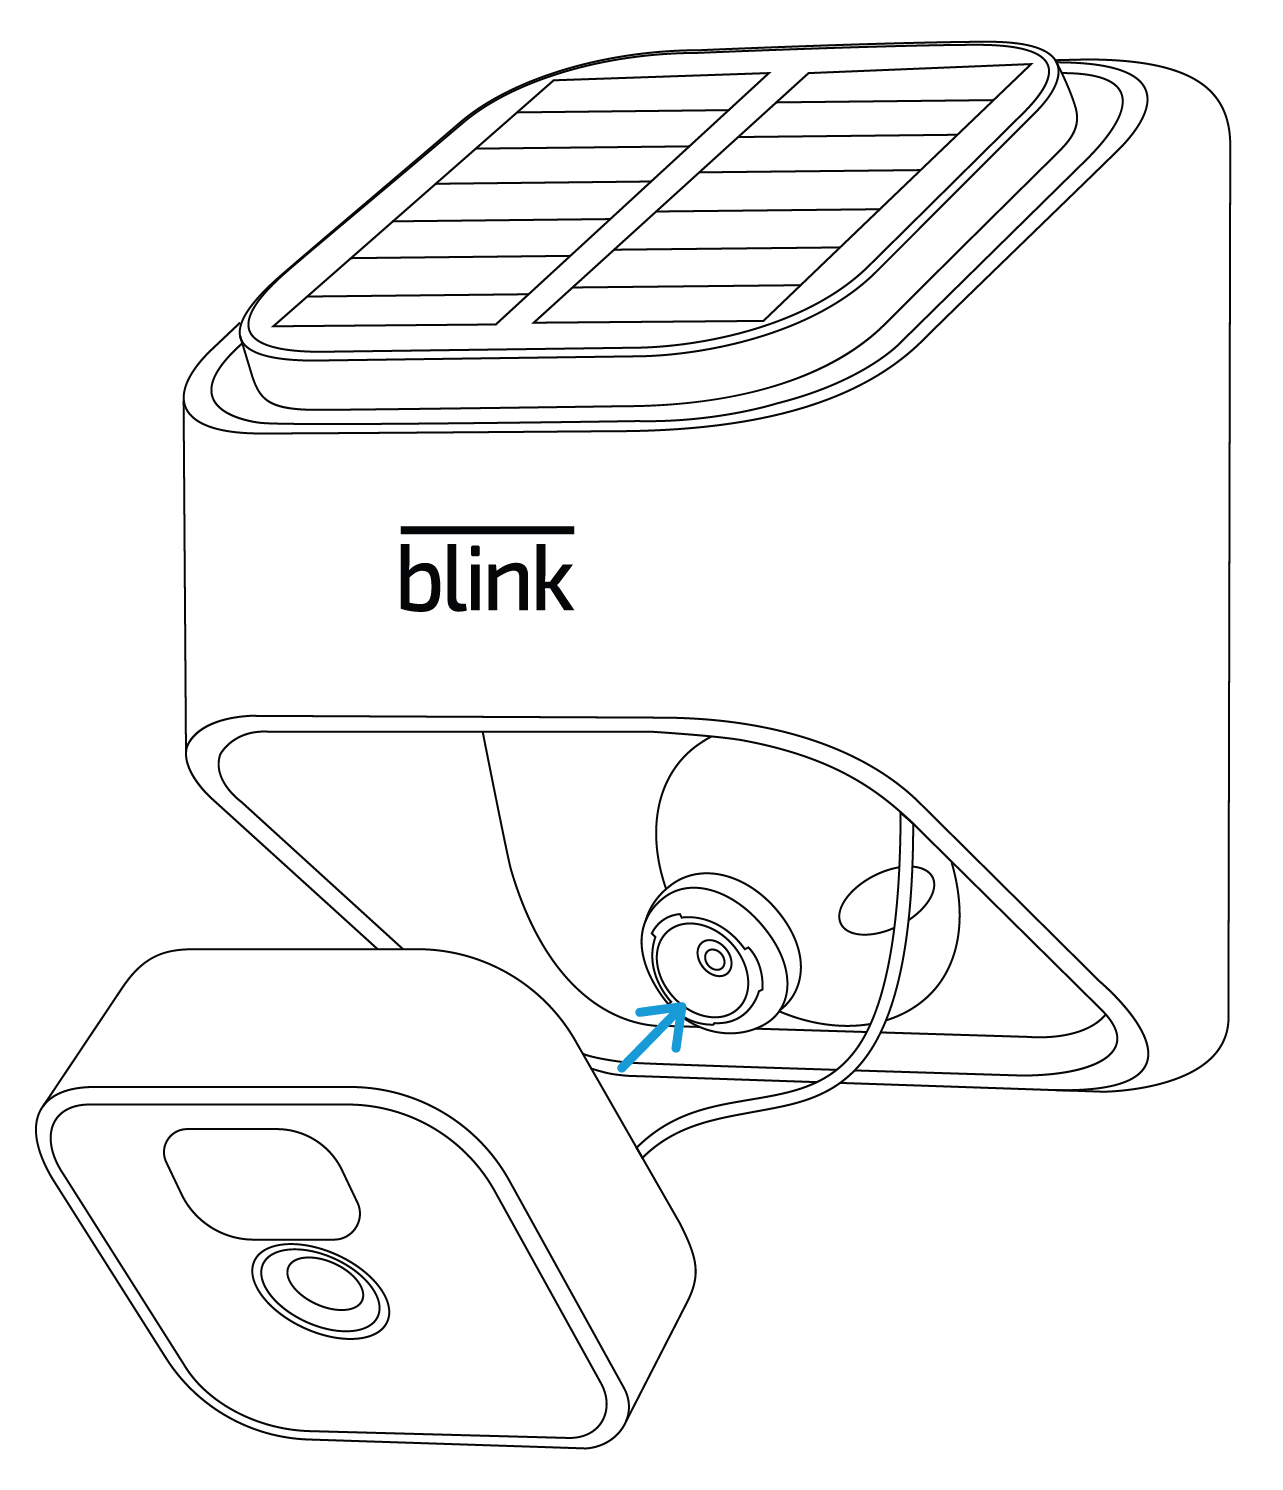
4. Next, firmly plug the micro-USB cable into your outdoor camera, making certain that you have a tight seal on all sides.
|
|
|

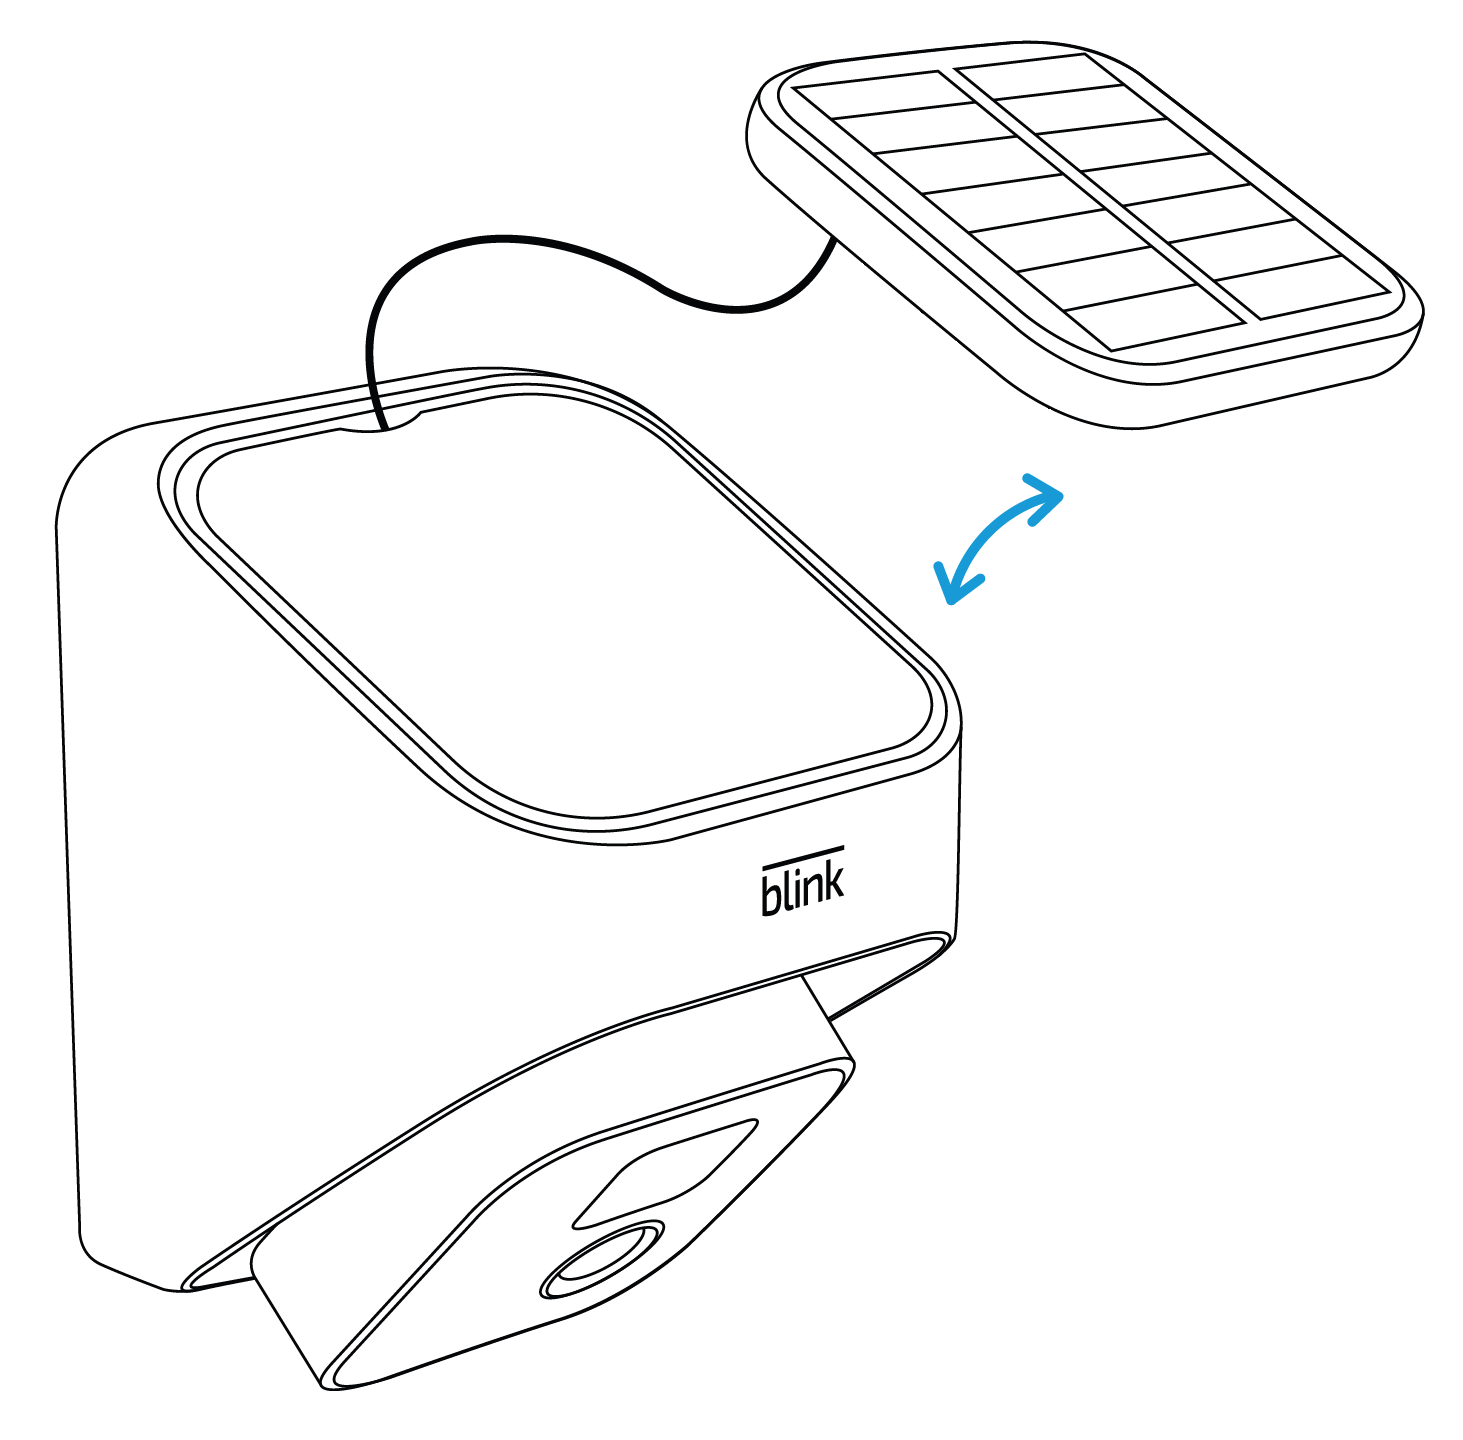
5. Snap the camera onto the front mount.
6. You also have the option of using a snap-in cover which protects the interior from the elements when the solar panel is placed in a remote location as shown below.
A separate volcano mount is included for mounting the solar panel in a remote location.

7. Attach the Mounting Plate to an exterior wall that has direct sunlight exposure. The plate can be mounted with two screws (and anchors if needed). You may also take advantage of no-drill installation and hang the plate with vinyl siding hooks (not provided).
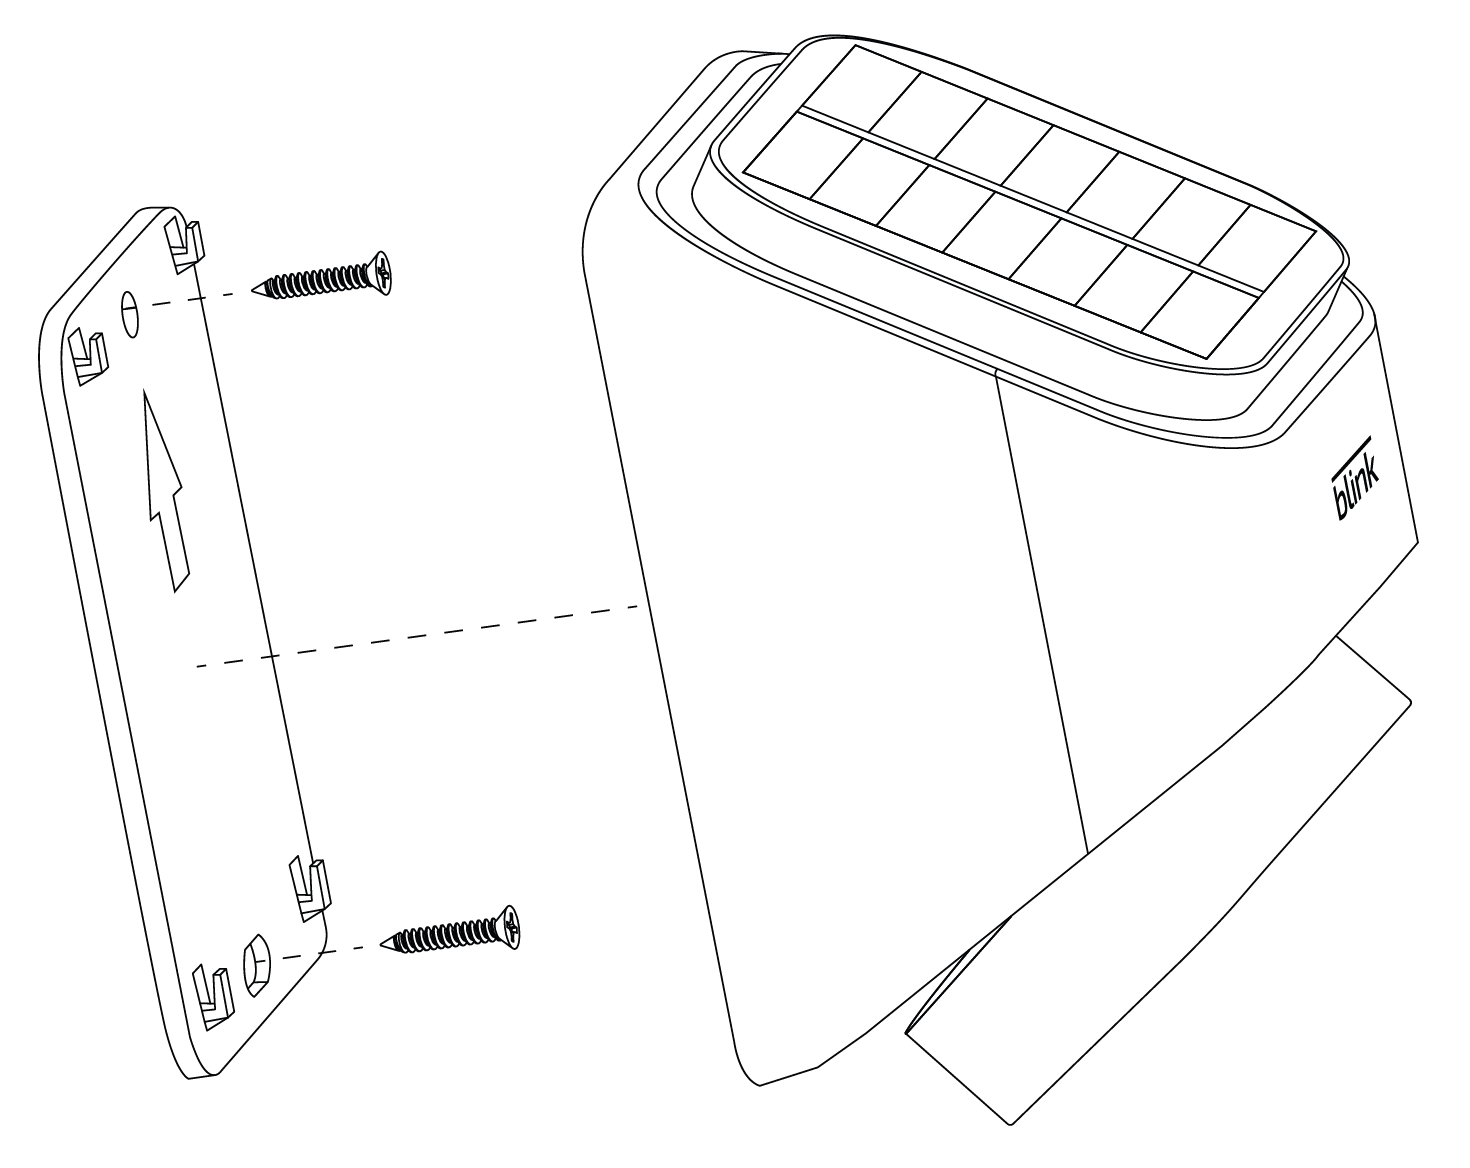
The tabs on the mounting plate insert into the slots on the back of the Solar Panel Mount and are secured by pushing them down into place.
When you have the unit mounted in an optimal location, the solar panel and camera can be adjusted at different angles and rotated as needed.

In the Blink app you will see External Power as "OK" for the status in the Outdoor (3rd Gen) camera's settings, once the batteries in the Solar Panel Mount have a charge. Your Blink Outdoor (3rd Gen) camera is then ready for use.
One of the most important considerations when installing your Blink Solar Panel Mount is placing it so it gets adequate sunlight to maintain its charge year-round. You should also take into consideration that you are not completely dependent on the sun to keep your camera operational. Once your mount has adequate charge to power your camera, your camera will revert back to using it.
By ensuring your lights are mounted with a clear view of the sun’s rays, you will maintain a steady charge rate during the day. Your solar panel should also be facing south towards the equator, which is even more important during winter months when the days are shorter with less sunlight. Solar powering your Blink Outdoor (3rd Gen) camera provides you with a reliable and powerful wireless security camera system, once you have the optimal sun exposure on your mount.
Click here to learn more about Blink camera placement.